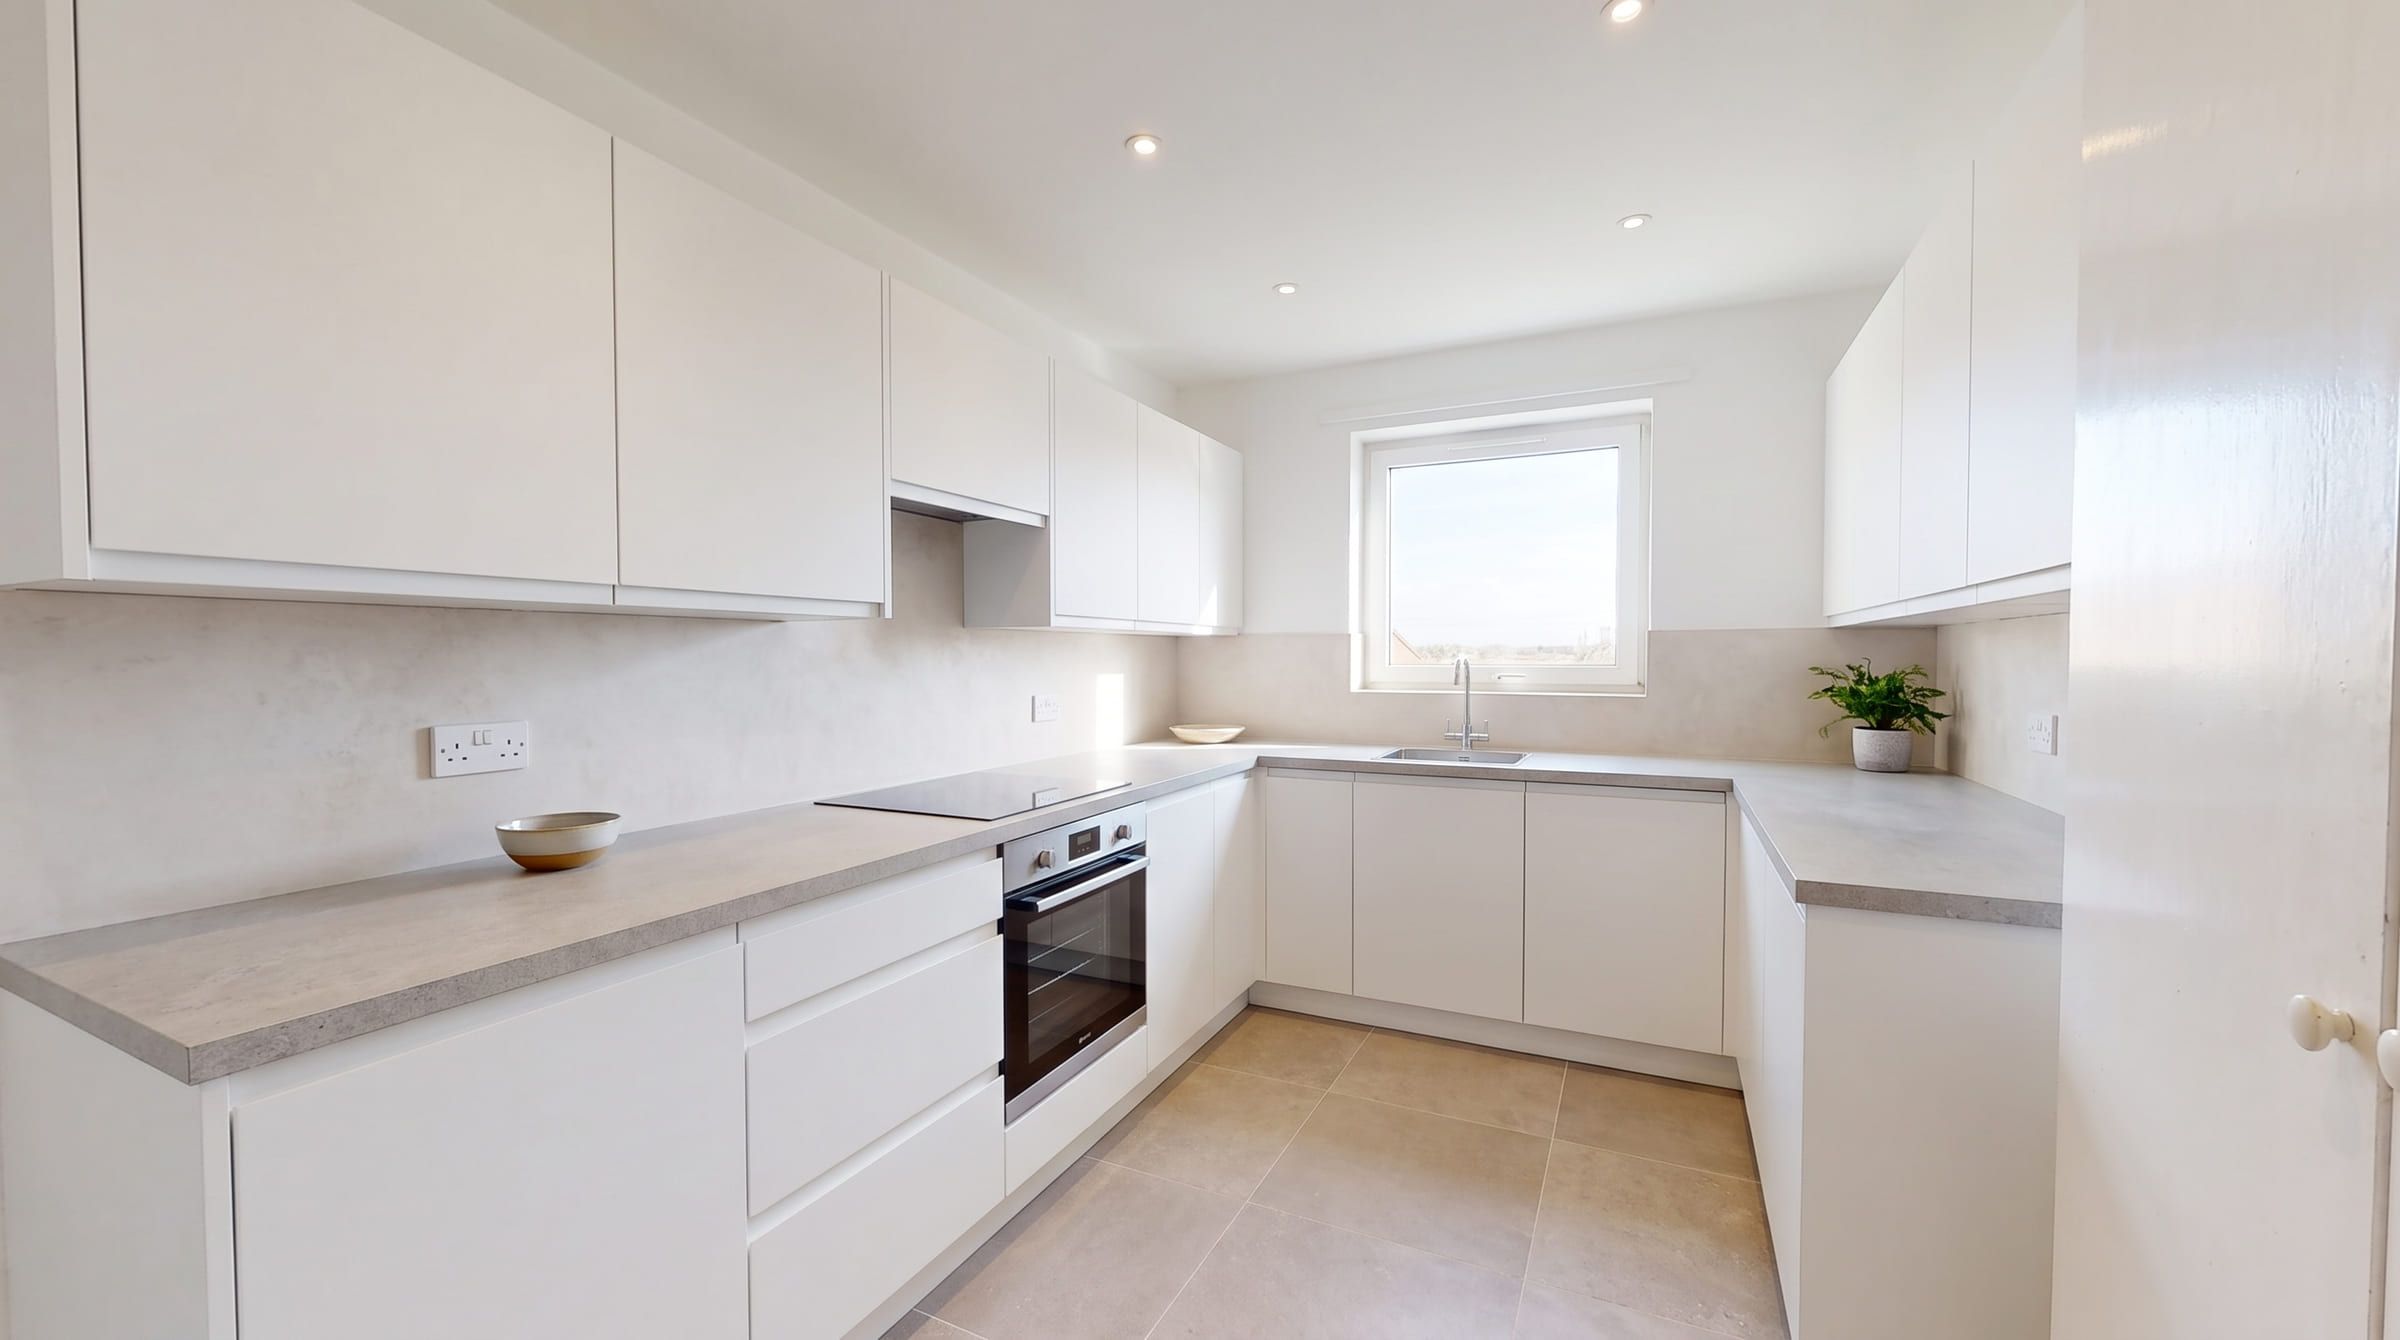
To use AI to decorate a room, take one clear photo of the room, upload it to a tool that edits the photo instead of generating a new one, choose a room type, a style and a palette, lock the parts you want to keep, then compare the results before you buy anything. The choices take about five minutes. Each design then takes 30 seconds to 3 minutes to generate.
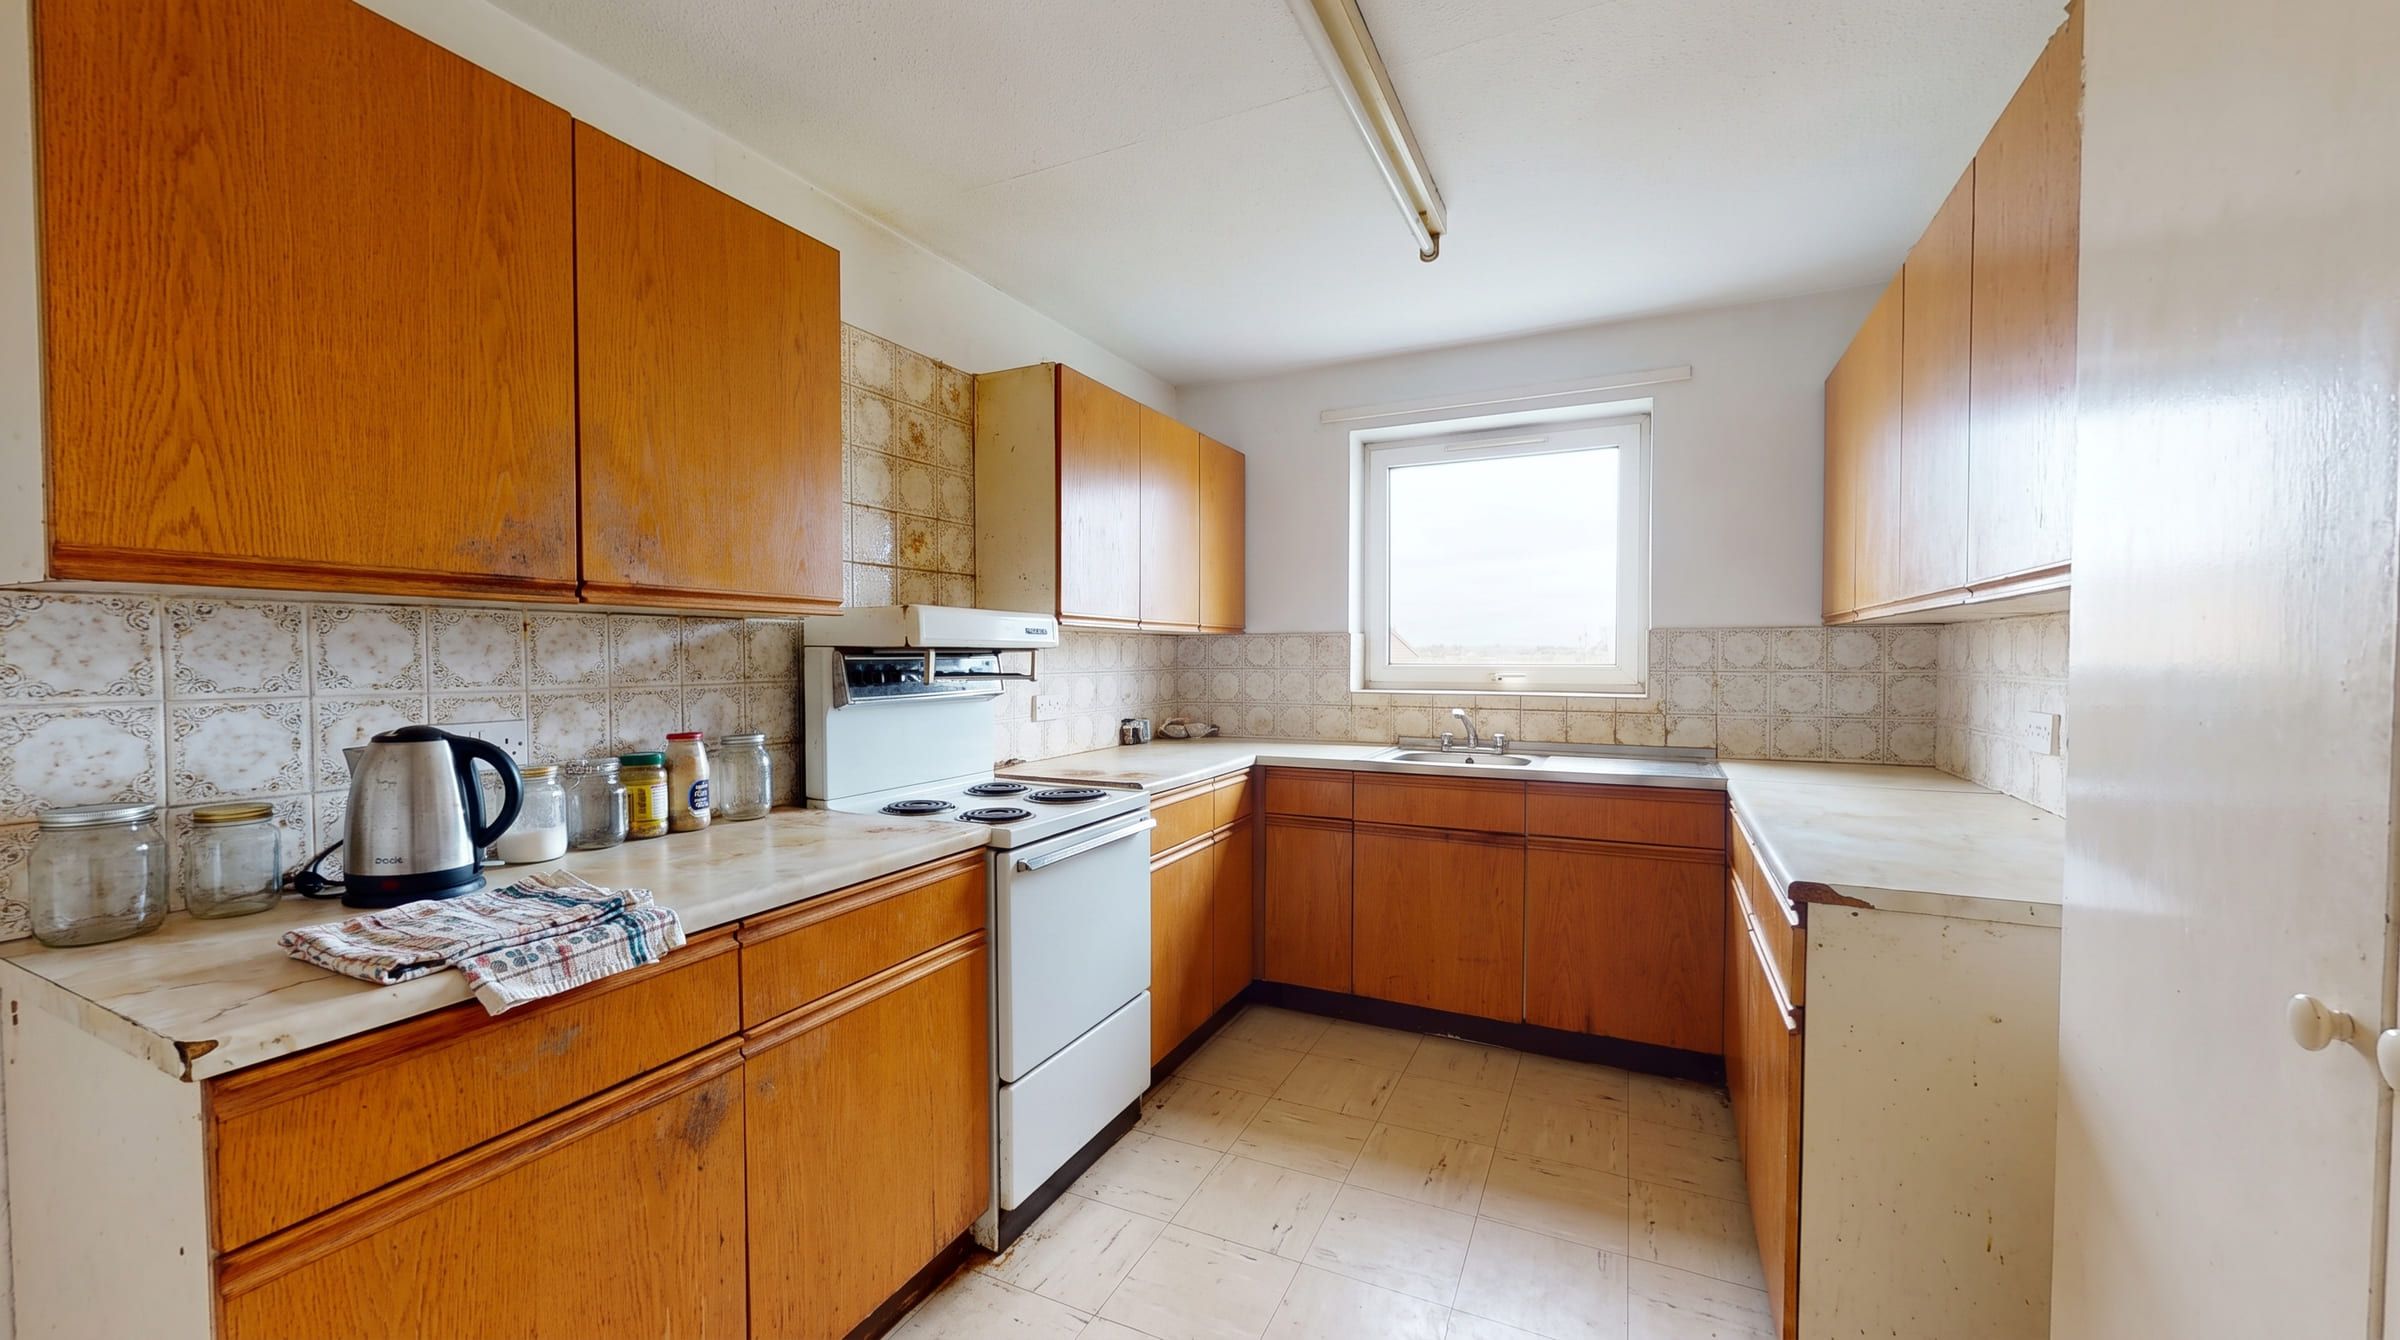
This guide uses remyhomeai and one kitchen photo as the example. The slider above shows that kitchen before and after a modern redesign. The steps are the same for any of the seven room types.
Step 1: Take the photo
The photo is the design input. Everything the tool keeps, it keeps from this picture, so give it something to work with.
- Stand in a doorway or corner and shoot straight on, not from above or below. A straight view keeps the vertical lines vertical.
- Use daylight. Open the blinds and turn off coloured lamps. Daylight shows the real wall colour and gives the model clean shadows to work with.
- Get the whole room in: floor, ceiling line and at least two walls. The model cannot keep what it cannot see.
- Move clutter out of the frame if you can. The model will redesign over it, but a clear photo gives a cleaner result.
Formats: PNG, JPG or WebP, up to 10 MB. A phone photo is fine. You can upload several photos of the same room and redesign them together, which helps when one angle cuts off a wall you care about.
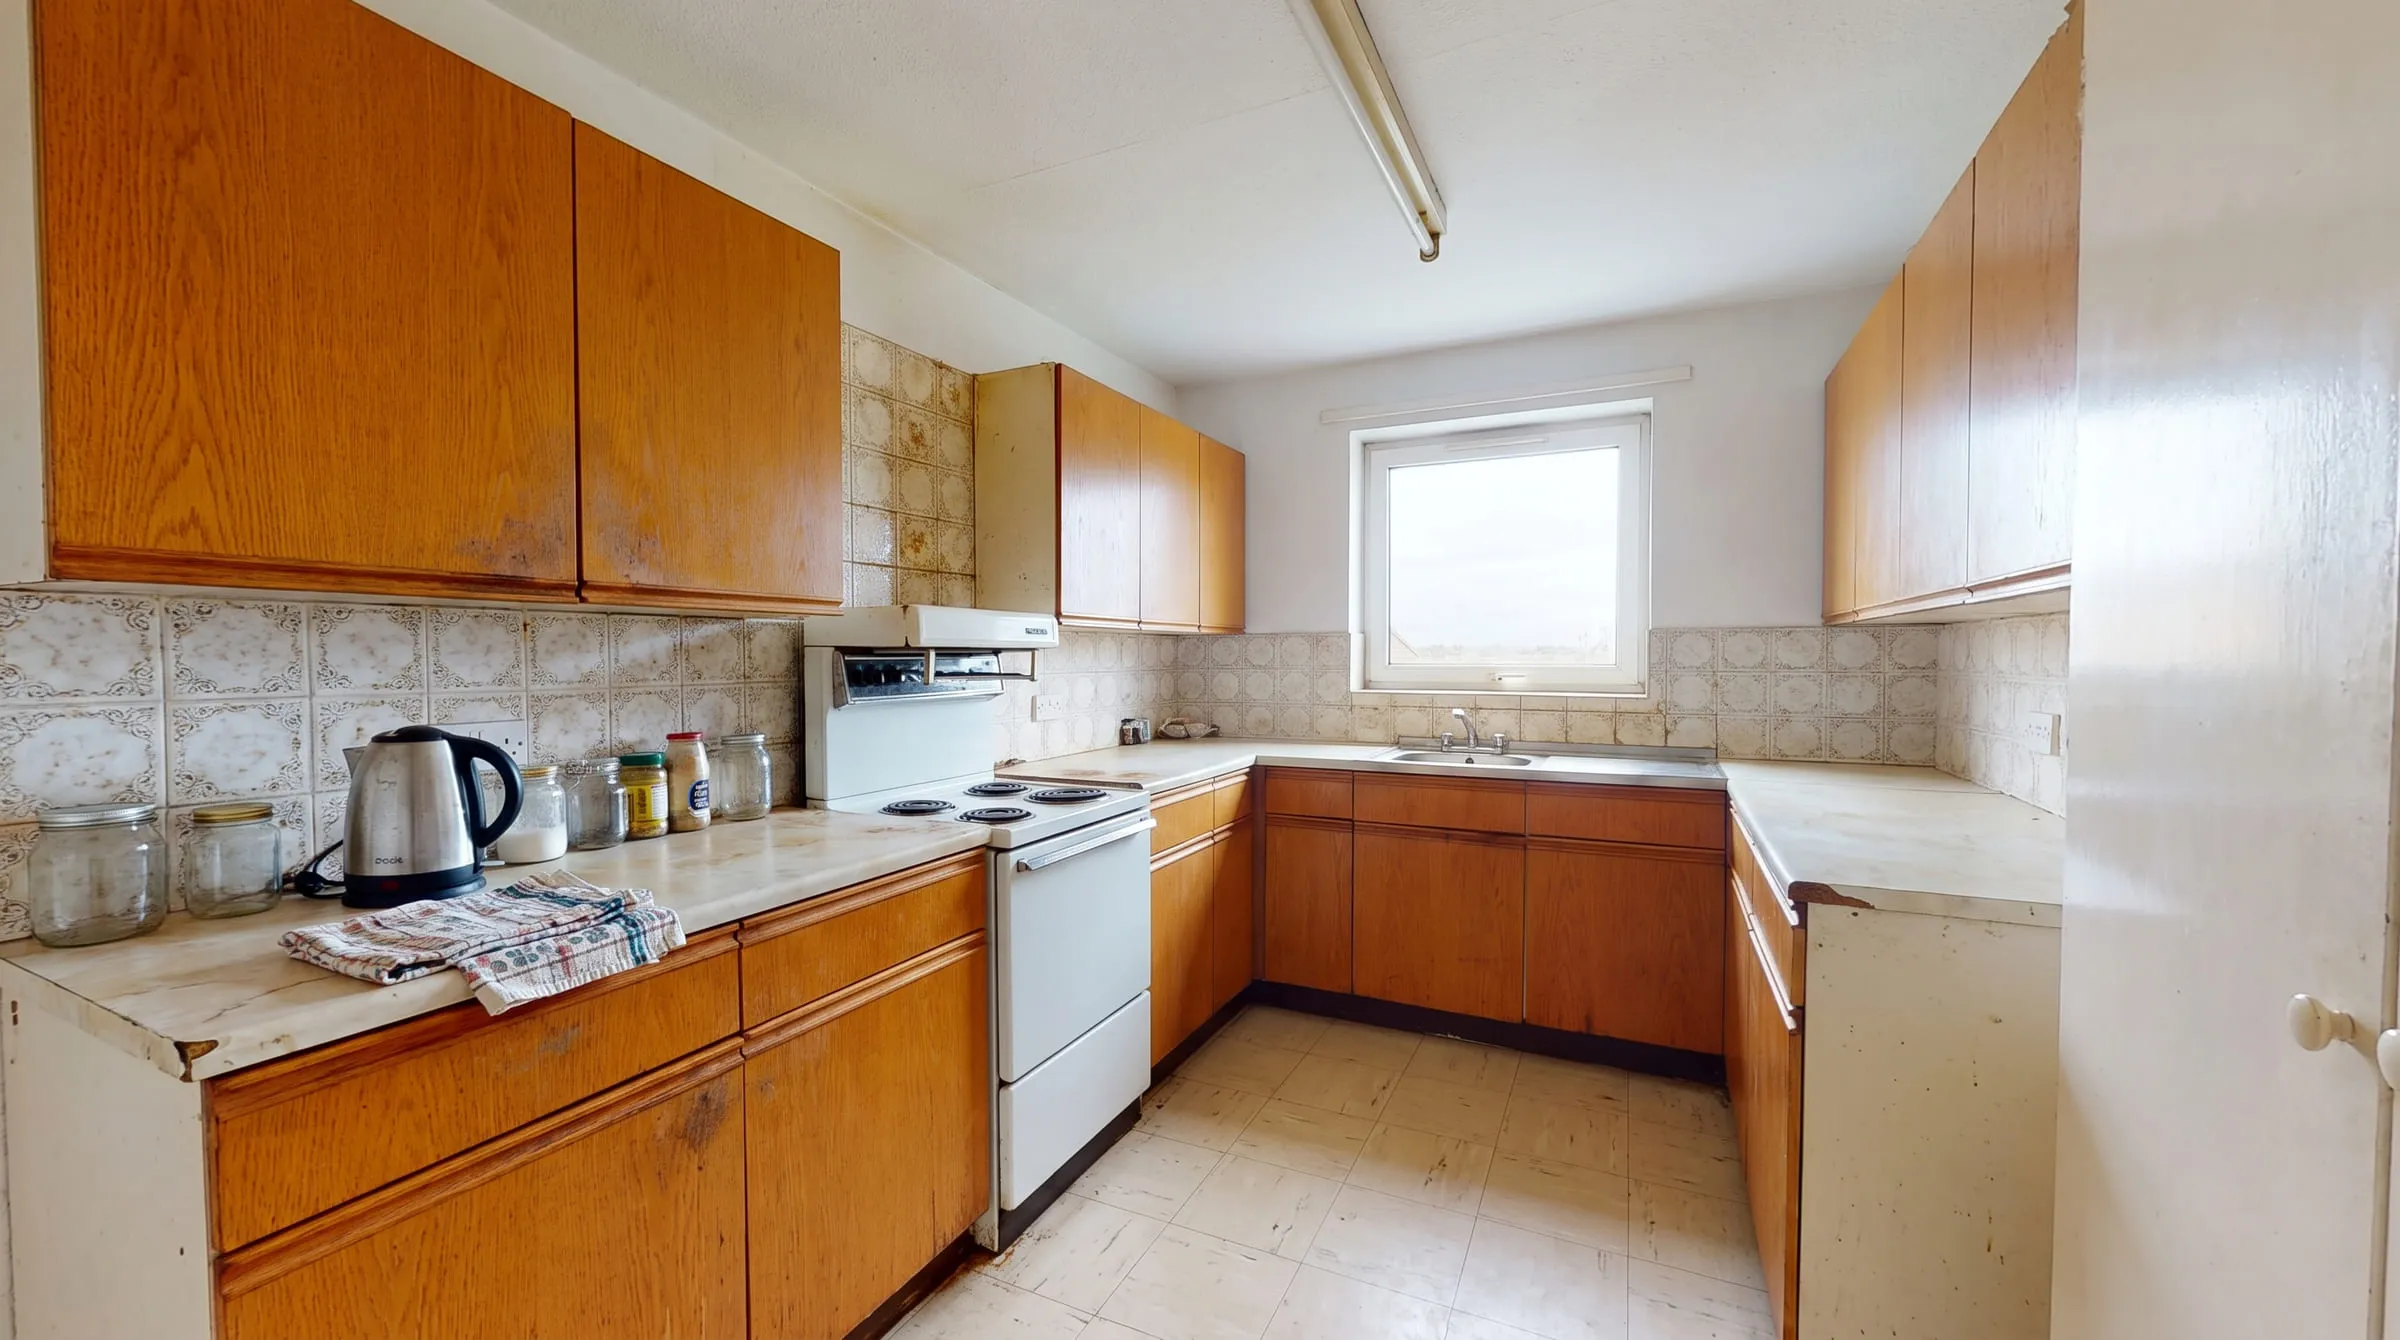 The photo you start with, before any redesign.
Step 2: Choose the room type
Pick one of seven: living room, bedroom, kitchen, bathroom, dining room, office or corridor. The room type tells the model what belongs in the space. A kitchen redesign keeps the worktop a worktop and the hob a hob. If you pick living room for a kitchen photo, you will get odd results.
Step 3: Choose a style
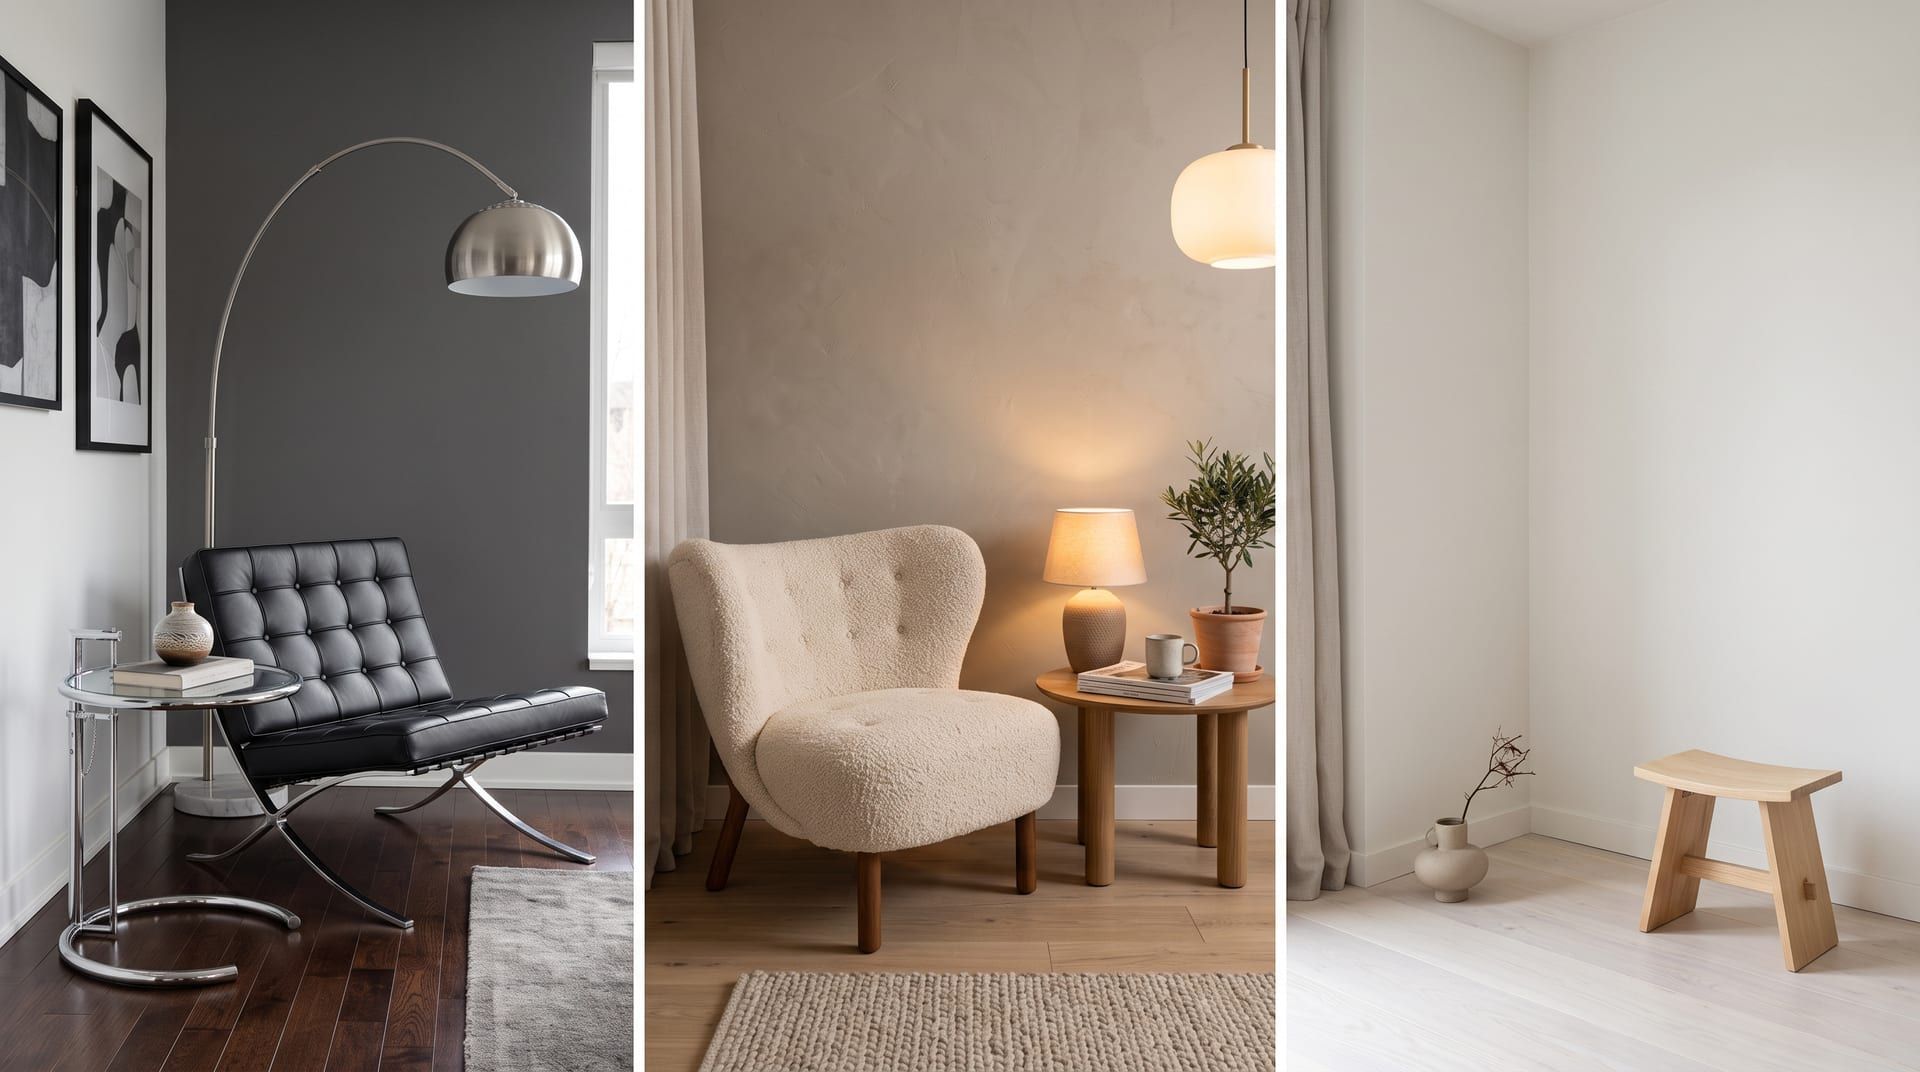
remyhomeai has seven design styles. In the app, each has a one-line description:
- Modern: sleek lines, glass and metal accents, dramatic lighting.
- Minimalist: airy layouts, matte finishes, calm monochrome palettes.
- Contemporary: soft curves, layered lighting, warm neutrals with contrast.
- Industrial: raw textures, concrete and steel, loft-style openness.
- Scandinavian: light woods, cozy textiles, soft greens and whites.
- Traditional: symmetry, paneled details, rich fabrics and warm metals.
- Eclectic: playful mix of art, texture, and bold curated accents.
The free plan includes five of the seven styles. Pro and Pro Plus include all seven. If you cannot decide, run two styles on the same photo. The style pages show each one on the same living room photo.
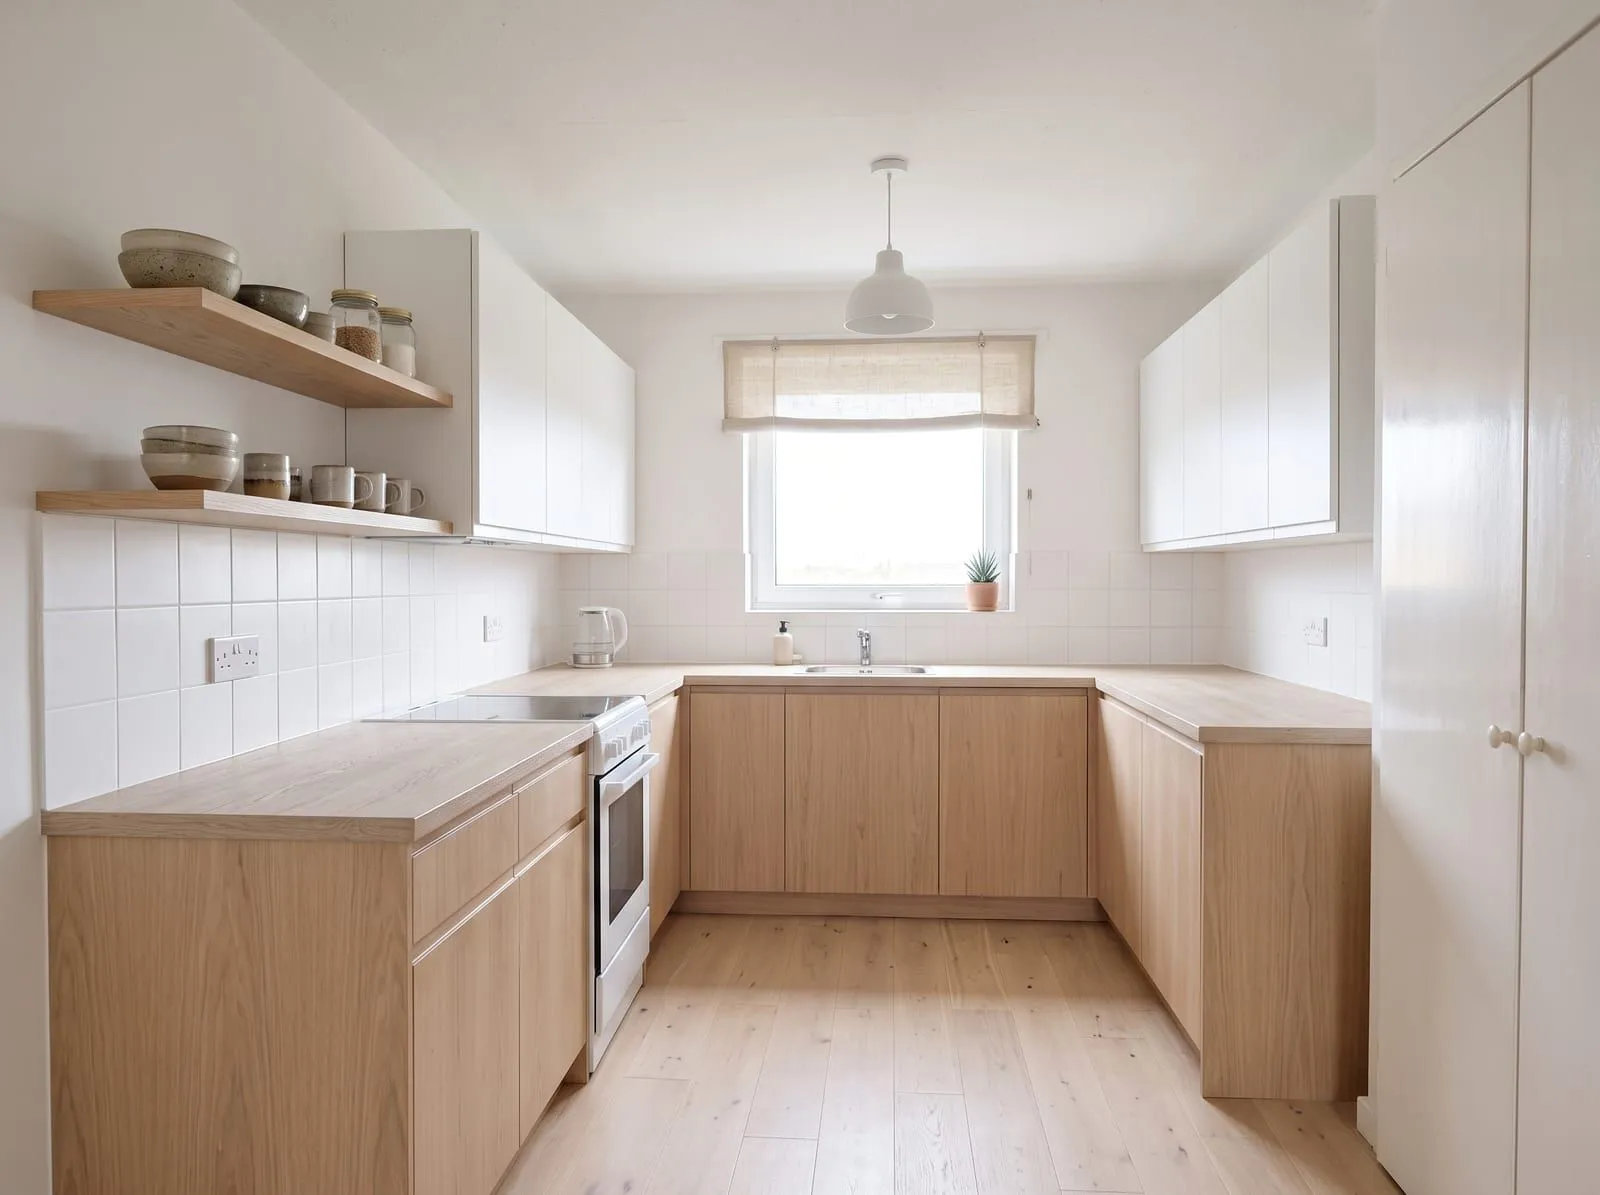 Generated with remyhomeai’s AI model from one sample photo.
Step 4: Choose a palette or describe one
There are 39 colour palettes. Each has a name and five swatches: Calm Neutrals, Nordic Light, Modern Monochrome, Warm Minimal, Terracotta Warmth, Sage & Cream and so on. Pick one and the model works the colours into the walls, textiles and accents.
If none fits, there is a free text field. Write what you want in plain words: “off-white walls, oak, one dark green accent”. Be specific about the surface. “Green” could land on the walls, the cabinets or a cushion. “Dark green lower cabinets, white walls” lands where you want it.
Step 5: Lock what you keep
This is the step most people skip, and the step that saves the most money. Tick the parts of the room that are staying: floor, doors, windows, ceiling or walls. The model leaves those as they are and designs around them.
Then name anything else that stays, in words. A fireplace. Built-in shelves. The dining table your grandmother left you. The model keeps the object and restyles the room around it.
If you plan to repaint but keep the floor, lock the floor. If you plan to replace the flooring but the walls were painted last year, lock the walls. The locks turn a pretty picture into a plan for the room you have.
Step 6: Run it
Press generate. A design takes 30 seconds to 3 minutes depending on the style and the options you chose. It runs in the background. You can close the tab, start another design or go and make tea. The result waits in your history.
Run more than one. Each run is a fresh pass and the results differ, and the first is not always the best. Three or four runs give you a real choice.
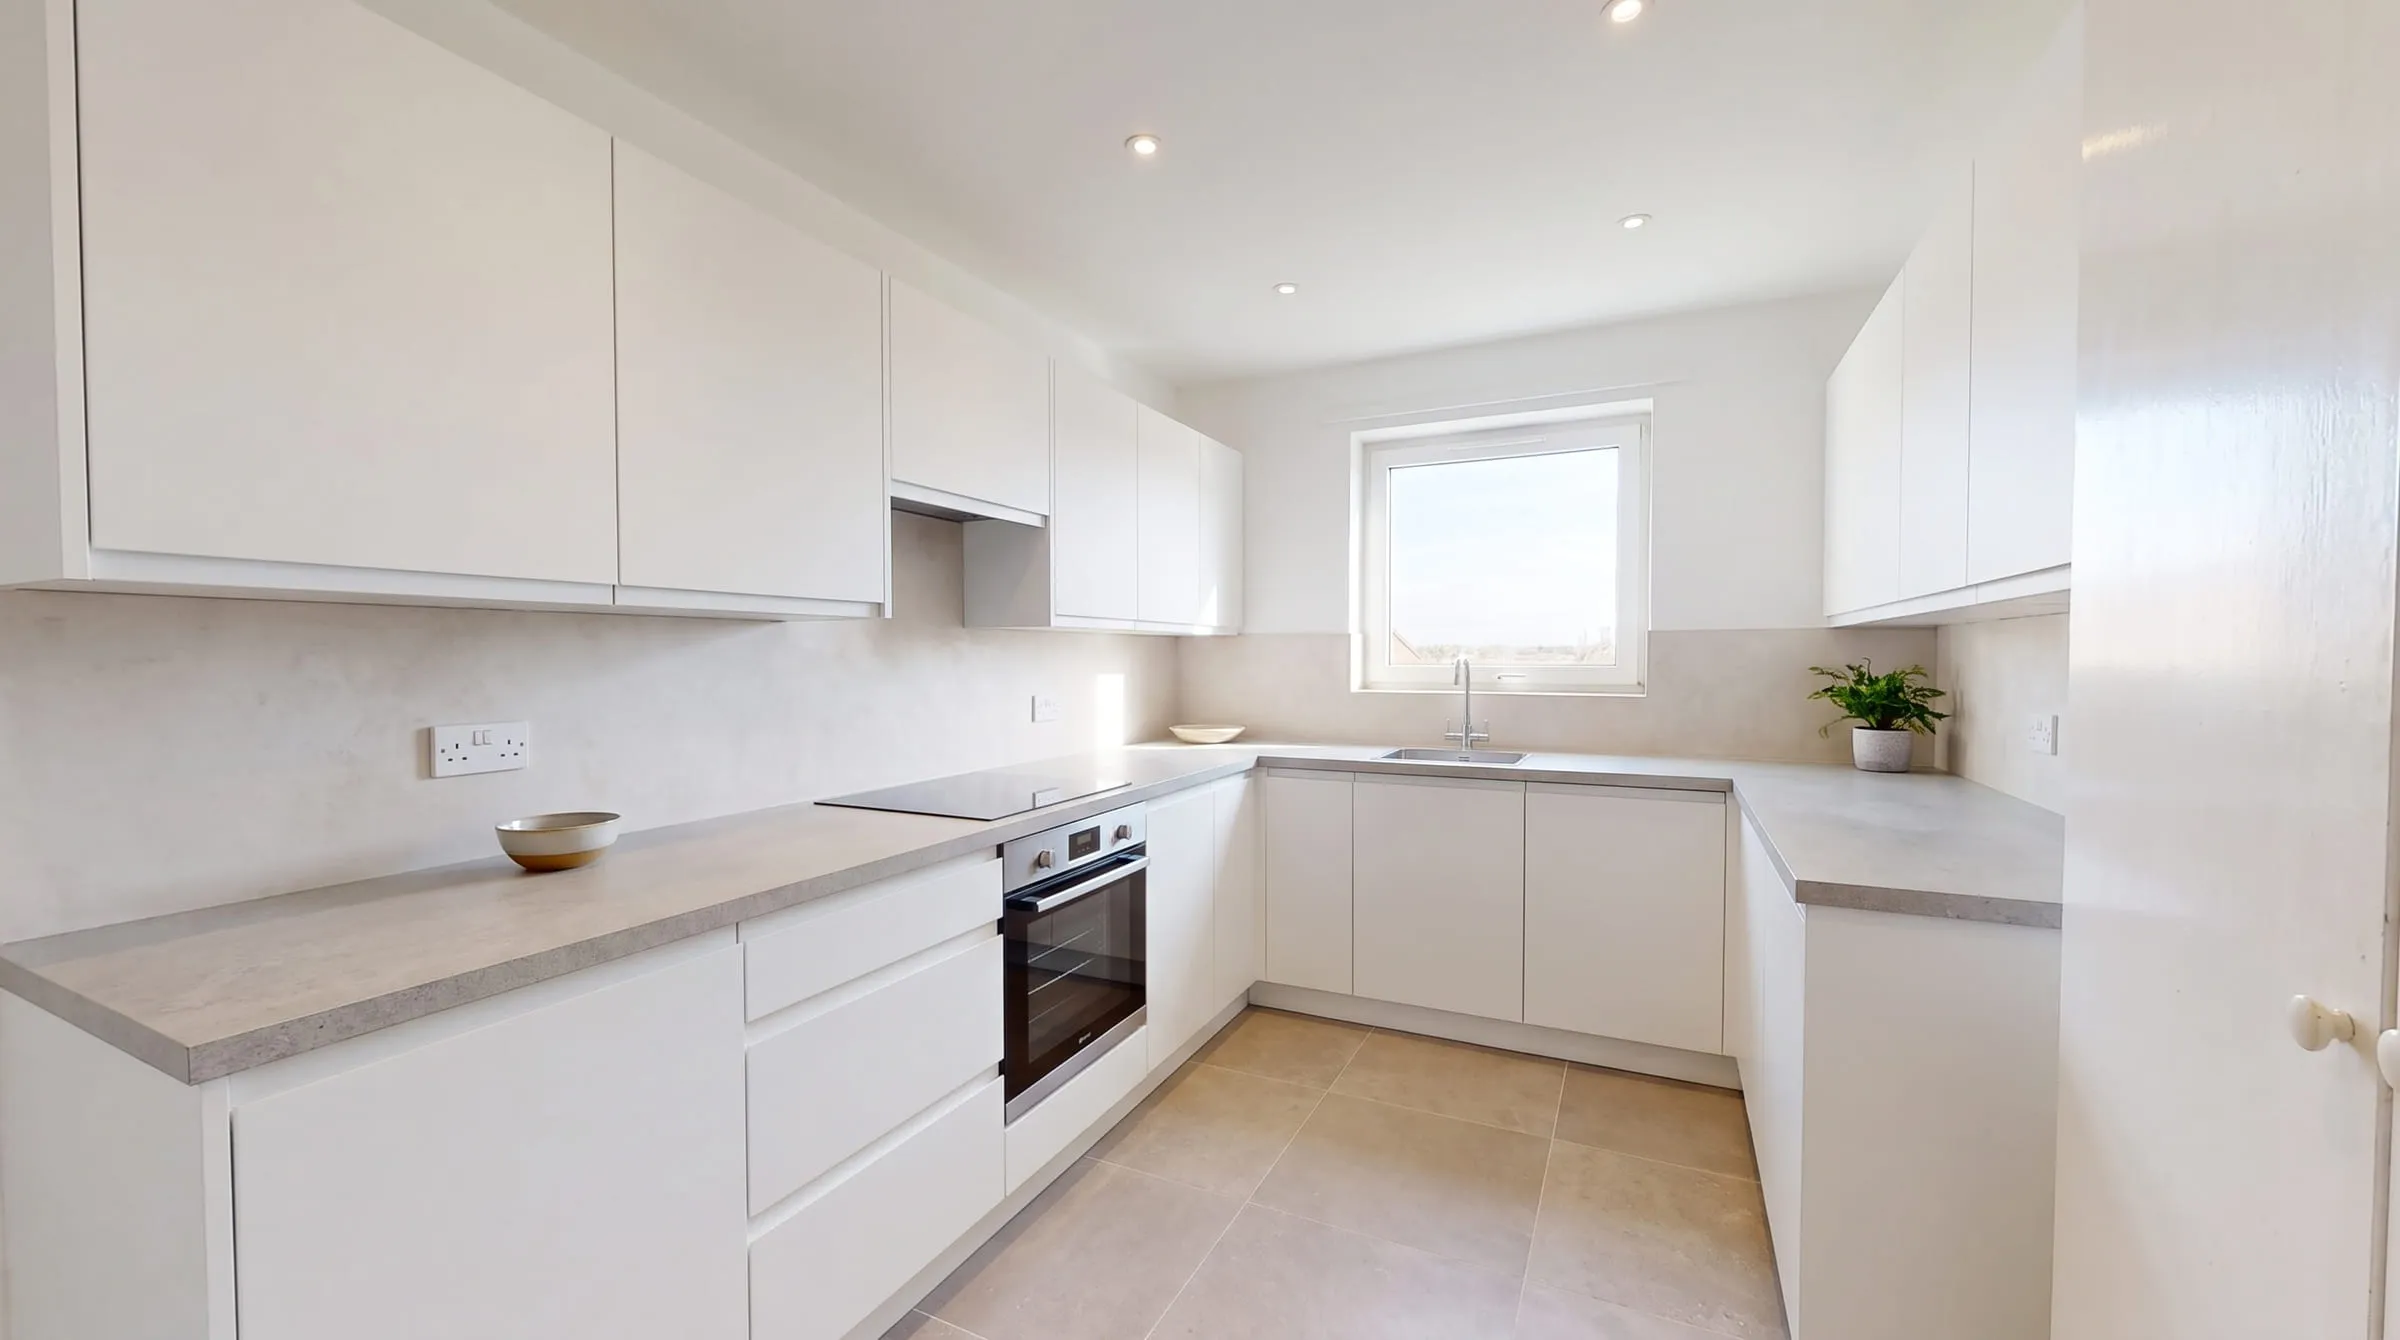 Generated with remyhomeai’s AI model from one sample photo.
Step 7: Compare results and save the ones you like
Every upload and every result is saved in a library. You can search it and tag it. Tag by room and by what you liked (“kitchen”, “green cabinets”, “keep this island”) so you can find the good ones when you are ready to buy.
Put the before and the after side by side. Then put two afters side by side. Decide what you like about each, and what you would change. That is the brief for your next run, or for a painter.
How to read a result critically
The result is a photo edit, not a quote from a builder. Trust some of it, check the rest.
Trust the architecture. Walls, windows, doors, ceiling height and camera angle come from your photo. If the model kept them, the proportions are your proportions. remyhomeai edits the photo for exactly this reason. If you want to know why some other tools do not, read why many AI room designers hand you someone else’s room.
Trust the overall direction. The colour relationship between the walls, the floor and the main pieces is what the picture is really telling you. If dark cabinets with a pale floor look right in your actual light, that is a real finding.
Double check scale before you buy. The model draws a table or an island at a plausible size. It does not measure. Before you order, measure the wall and compare it with the listed dimensions.
Double check anything that touches a service. A pendant over the island, a tap, a radiator. The picture may put them where they look best, not where the wiring or plumbing is.
Double check the small details. Look at where legs meet the floor, at reflections and at pattern repeats. Image models sometimes get these wrong. A mistake in a detail does not make the design wrong, but you should know what is design and what is a glitch.
What it does not do
remyhomeai is a restyling tool for a photo of a furnished room. It does not:
- Make floor plans or 3D models. There is no top-down view, and you cannot walk through the result. It is not a 3D planner.
- Move walls, add windows or change the ceiling. The architecture of your photo is the architecture of the result.
- Link to shops. The furniture in the result is drawn, not sourced. You find the real pieces yourself.
- Rearrange your furniture to a plan. It redesigns what is in the photo, from the view you gave it.
- Stage an empty room. For an empty room, use a tool built for staging.
If you need any of those, pair it with a planner or a designer. If you need to see what your room could look like before you commit to paint and furniture, it does that job.
Try it on your own room. The free plan gives you 3 designs a month, no card required.